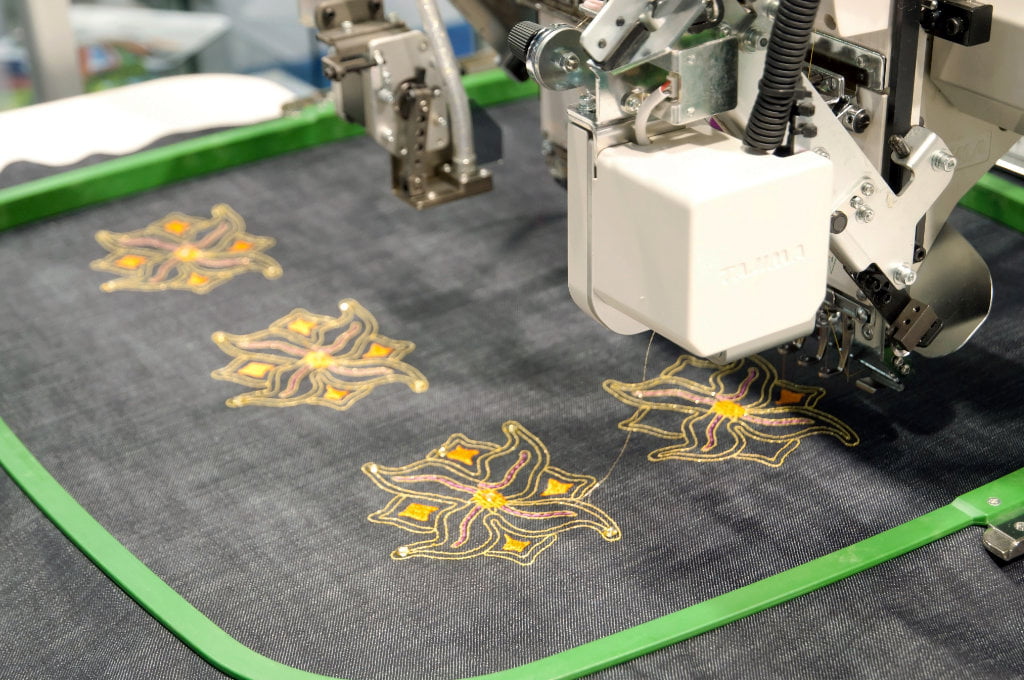
Embroidery digitizing is an interesting process that requires attention to detail and precision. With skills combined with the advances in technology, you can create exquisite designs that will leave your customers in awe. However, the process involved in embroidery digitizing is no small task. You have to make sure that the intricate process will yield positive results. A few best practices can make a difference.
5 Best Practices That Guarantee An Excellent Outcome
1. Use The Right Needle And Thread
Have you ever wondered how digitizers come up with designs that are the exact replica of the original image? Embroidery digitizing won’t be successful without choosing suitable needles and threads for the job. For the thread, the standard weight you need to use is 40 and 75/11 for the needle. When it comes to weight, the 40-weight thread should be .4 mm for it to produce the best results.
Even the default stitch density is .4mm. Unfortunately, the standard weight and size don’t apply to small letters. Due to their short height, the standard weight for needle and thread won’t work. For small letters, experts recommend using 70-weight thread. It’s also important to change the needle to a much smaller size. With smaller needles, you can increase the density without damaging the garment.
2. Go For Manual Or Run Stitches
You might have considered satin stitches, but for best results, manual or run stitches are highly recommended. For beginners, getting run stitch might be challenging, but practice makes perfect. Run stitch has a double run stitch. It involves starting from one point and going to the end, then coming back on the stitch where you started from. You can get better results if you know how the stagger the stitches. The technique prevents points from falling on themselves. You don’t want tie-ins and tie-offs to show, so select the point where you can effectively hide them. You can also create some vertical strokes to make the letters taller.
3. Get Rid Of Too Many Outlines
As much as possible, you should avoid creating excessive outlines. Too many outlines occur when satin stitch lines interconnect. So what if you have wide outlines? The trick is to change the angle of one of your outlines. You will usually notice multiple outlines when you’re stitching on a stretchable garment. Due to the fabric’s stretchiness, you’ll end up creating too many outlines as the fabric lacks stability. Make it a point to reduce outlines by making them thicker. With thin outlines, you’ll have trouble making the embroidered fabric look clean and flawless.
4. Opt For One-Directional Blends
For blends, fill stitches are often considered, but because they have too many needlepoints, they don’t provide excellent results in thin areas. Consider one-directional blends if the direction is your concern. They also have lesser needlepoints than radial blends and fill stitches.
5. Lack Of Details Due To Thin Outlines
Another problem you will face in embroidery digitizing is not capturing every bit of detail of the design. It might be caused by thin outlines. When you’re using satin stitches, your option is to run stitches or in some case, double run stitches. You can address the problem by looking at your design. Find out if partially or completely dropping the outlines is possible.
You can get the best outcome if you know your machine’s limitations and address issues with outlines and stitches by seeking some better alternatives. Whether you’re running a small or large company, it’s important to let your customers know about these challenges and their solutions. You can keep customers happy this way.
Choose a embroider digitizing provider that can bring your designs to life. Contact us:
Affordable Digitizing
em********@*****st.net
(239) 910 8021

