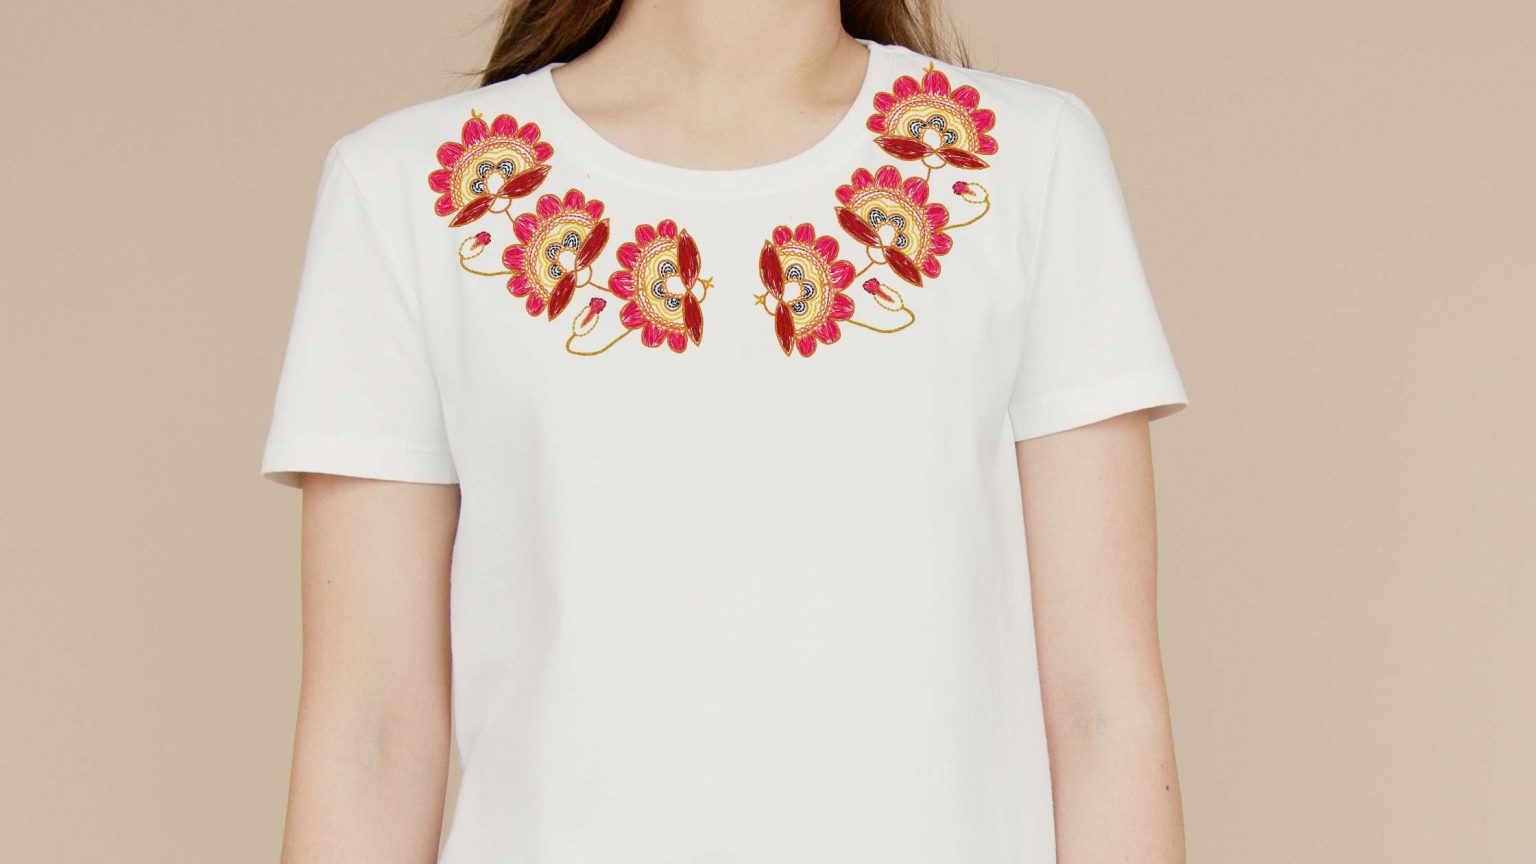
Whether you’re working on a t-shirt, dress, or any other garment with a curved neckline, these tips will ensure your embroidery looks professional and pleasing.
Embroidering on curved necklines can be like navigating a winding road, but fear not! With the right approach and insider knowledge, you can conquer this challenge and create stunning designs.
From choosing the right stabilizer to adjusting your machine settings, we’ll guide you every step of the way. So, let’s dive in and elevate your embroidery skills to new heights!
Choosing the Right Fabric
When embroidering a curved neckline, it’s crucial to select the appropriate fabric for optimal results. The fabric you choose should be flexible and have a good amount of stretch to accommodate the curves of the neckline without distorting the embroidery.
Look for fabrics like jersey, interlock, or knit blends that have a natural stretch. These fabrics will allow the embroidery to lay flat and conform to the curve without puckering or pulling.
Avoid using stiff or non-stretchy fabrics like woven cotton or denim, as they can cause the embroidery to pucker and distort when worn.
Prepping the Fabric and Design Placement
To prepare the fabric and determine the placement of your design, follow these steps for embroidering a curved neckline.
Start by prepping the fabric. Gently wash and iron the fabric to ensure it’s clean and free from any wrinkles or creases. This will provide a smooth surface for your embroidery.
Next, consider the design placement. Measure the distance from the shoulder seam to the center of the curved neckline. Use this measurement to mark the center point on the fabric. Then, measure the width of your design and mark its center point.
Align the center points of the fabric and design to ensure proper placement. Remember to leave enough space around the design for the neckline curve.
Taking these steps will help you achieve a professional and well-placed embroidery on your curved neckline.
Using Appropriate Stabilizer
For embroidering a curved neckline, it’s crucial to use the appropriate stabilizer to ensure the best results. The stabilizer provides support to the fabric during the embroidery process, preventing puckering and distortion.
When dealing with curved necklines, it’s recommended to use a cut-away stabilizer. This type of stabilizer is more stable and provides long-lasting support, ensuring that the embroidery design stays in place even after repeated washes. Cut-away stabilizers are also great for preventing stretching or warping of the fabric, resulting in a professional and polished finish.
Remember to choose a stabilizer that matches the weight and stretch of your fabric for optimal results. By using the appropriate stabilizer, you can achieve beautiful and flawless embroidery on curved necklines.
Selecting the Right Needle and Thread
To ensure optimal results when embroidering a curved neckline, it’s important to carefully select the right needle and thread.
When it comes to choosing the needle, opt for a sharp and fine needle, preferably a size 75/11 or 80/12. These needles have a smaller eye and point, allowing for more precise stitching on the delicate fabric of the curved neckline.
As for the thread, choose a high-quality embroidery thread that matches the fabric’s weight and color. Polyester or rayon threads are commonly used for embroidery and provide a smooth and professional finish. Avoid using thick or heavy threads, as they can create bulk and distort the neckline’s shape.
Mastering the Technique of Embroidering a Curved Neckline
Mastering the technique of embroidering a curved neckline requires precision and practice.
To start, secure your fabric in an embroidery hoop, making sure it’s taut. Use a smaller embroidery hoop for more intricate designs.
Choose the right needle and thread, ensuring they’re suitable for the fabric and design.
Begin by outlining the curved neckline with a running stitch or backstitch, following the shape of the neckline closely. Take small, even stitches to maintain the smooth curve.
When filling in the design, use satin stitches or long and short stitches, depending on the desired effect. Take your time and work slowly, adjusting the tension as needed.
With practice, you’ll be able to embroider beautiful curved necklines with ease.
Bring Your Intricate Designs to Life With Affordable Digitizing
Embroidering a curved neckline can be a rewarding yet intricate task. Employ these tips to enhance your skills and achieve impeccable results. Remember, precision is key when navigating curves.
Experience top-notch digitizing services that transform your visions into embroidered masterpieces. Call Affordable Digitizing today.

