Mastering how to do 3D puff embroidery requires a little bit of practice, but it’s worth being able to offer this type of embroidery service to your customers.
For starters, people love how this textured effect makes their logo or branded design pop out. It also produces a high-quality branding effect which helps you offer the best embroidery service. You’ll also be able to charge a little bit more for this type of embroidery work which can prove to be very cost effective for your printing business.
How to Create 3D Puff Embroidery in Five Easy Steps:
Here’s how to master 3D puff embroidery in a few easy steps. Keep in mind that these steps may vary for your specific embroidery machine model; always check with your instruction manual first before proceeding.
1. Choose the Right Color Foam
You can find the foam you’ll need online, at many arts and crafts stores and even retailers such as Walmart. 3D puffy foam comes in a variety of thicknesses to suit the desired effect and design. If possible, always choose foam in the same color (or as close to it) as the design that will be embroidered over it.
2. Only Use a Design That’s Been Digitized for 3D Puff Embroidery
You then want to make sure that the design to be embroidered has been digitized explicitly by a professional for 3D embroidery. Some aspects of the design must be optimized using digitizing software before it can be programmed into the embroidery machine.
Do not skip this step. Bring your design file to a digitizing services company to ensure a flawlessly embroidered design.
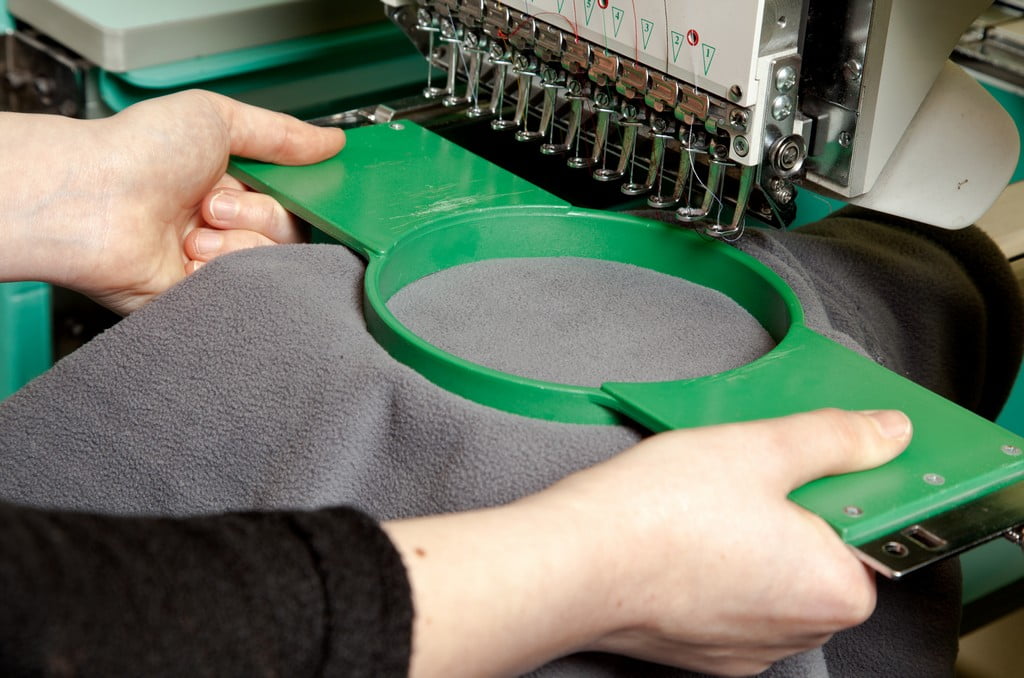
3. Set Your Embroidery Machine to Automatic/Manual
3D puff embroidery is actually completed in three steps: the design’s underlay, then the border, and then the 3D section of the design itself. The 3D section is last because it’s during this step that you will insert the foam.
Your embroidery machine should be set to automatic/manual so that will stop at the end of each step before you tell it to proceed. This is to allow you to insert the foam for the crucial third step.
4. Cover the Design with Foam
The foam piece should be large enough to cover your design entirely. Place the foam over your design when step two of the embroidery process is finished and securely tape it in place using clear, strong tape. Make sure the tape is far away from the design borders.
5. Tear the Excess Foam Off
Your machine will secure the stitching to the foam with several stitch points before completing the design. Once the design is done you can remove the piece of clothing from the machine and simply tear the excess foam right off. You should also remove pieces of foam from any space inside the design that’s meant to be empty.
If you did happen to use a piece of foam that’s a different color than the embroidered design, then you can use a small tool to push in any protruding areas gently. This is why aiming for a foam color as close as possible to the design’s color or colors is so important.
Now that you know the basics of creating 3D puff embroidery, we hope you’ll enjoy this technique and be able to offer it to your customers. For a free quote on digitizing design files your 3D puff or another embroidery project, contact us today.
Affordable Digitizing
em********@*****st.net
(239) 910 8021