Whether you are a seasoned or an amateur embroiderer, you need to make sure you know how to get the best end result. It will only be possible if you take note of all the factors essential in achieving desirable results. It starts with choosing the right fabric, needles, and threads. Pull compensation is going to be instrumental in the process.
What are push and pull effects
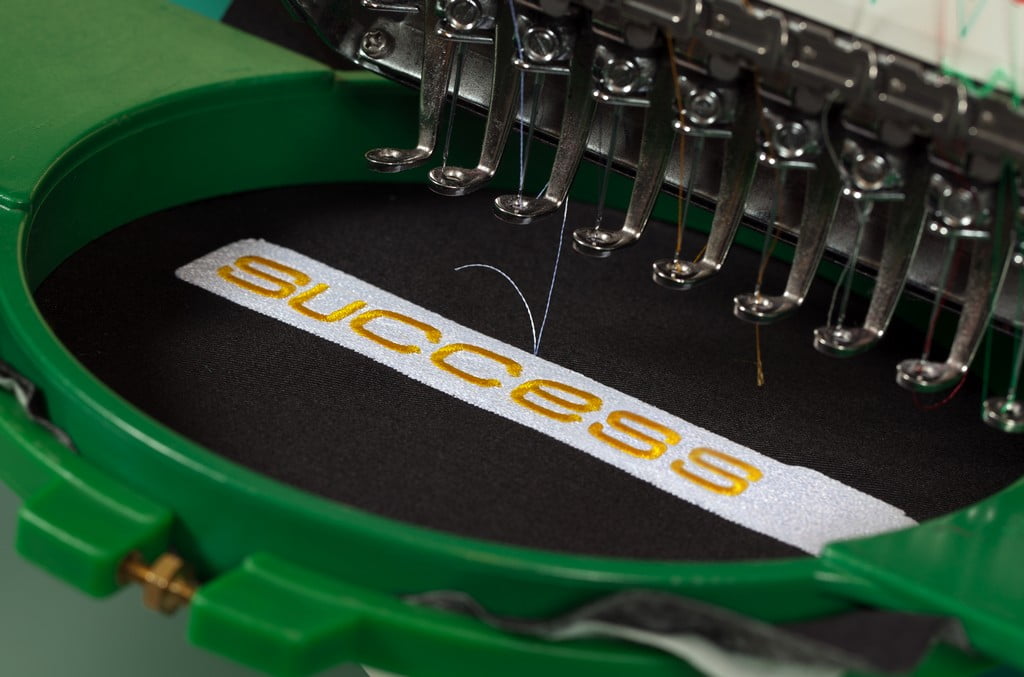
There are many fabrics you will encounter in embroidery and all of them have a natural stretch. Suffice it to say, you should expect some pull on your fabric once the hoop starts moving back and forth. This is one of the challenges you will encounter once you form stitches. Distortion and unevenness are inevitable. Regarding the amount of pulling, it will depend on various factors such as the manner you hoop the fabric and the type of fabric you are using. You will also need to take the size of your design, type of fill stitch and the stabilizer into account. When applying the techniques for embroidery, you will notice gaps because of how the stitches pull the fabric in each movement.
In this case, the stitching will also push out at a right angle to the stitching’s line so the result looks exactly like the one on your screen. It takes skills and experience to control the push and pull effectively using machine embroidery techniques. Pull compensation has to do with compensating the natural pull effect of stitches. This means the expected pull has to have the same length as that of the stitch.
For experienced digitizers, pull compensations can be employed manually. This can be done by overlapping the design as you digitize it. When it comes to automatic compensation, the process is entirely different. It involves countering the pull effect by means of overstitching the outline on the area where the needle starts to penetrate.
Adjusting pull compensation
You will know the areas that can benefit from pull compensation by testing the stitch out. When doing a test, observe how the stitch pulls on the fabric. It is important that you make some adjustments to your software settings so you can apply the pull compensation technique effectively. You can easily notice if there are gaps between the objects and the stitches. When adjusting pull compensation, you can refer to your software manual. There are types of software that enable you to select the type of fabric that you want to use for your embroidery. You can also choose the recommended pull compensation for the fabric you are going to use. More often than not, the software will choose the settings manually. There is also an option to manually override the settings by adding your desired value in the pull compensation field. If you need different stitches in various areas, you can consider this option very useful.