Producing a beautifully embroidered design depends on proper hooping. Hooping for an embroidery machine controls the fabric and prevents pulling, warping, or movement. Learn how to hoop fabric for embroidery and tips for proper hoop use.
Step 1: Prepare Your Fabric and Hoop
Hold the fabric you want to embroider and fold it in half. Pinch the center portion of the material, feeling for its thickness when folded. Doing so will provide a visual line to guide your placement between the two halves of your hoop.
Next, loosen or tighten your hoop, leaving enough separation between each side that matches the size of your folded fabric. Pre-adjusting your hoop reduces the chance of hoop burn on your material.
Step 2: Hoop the Fabric
Take the bottom half of your hoop and place it on a table, positioning the adjustable corner or side opposite you. Lay the stabilizer and fabric over the bottom half, and push the top half down quickly to pop it tightly into the bottom portion. Gently pull the material sticking out of the hoop to adjust it properly, then tighten your hoop.
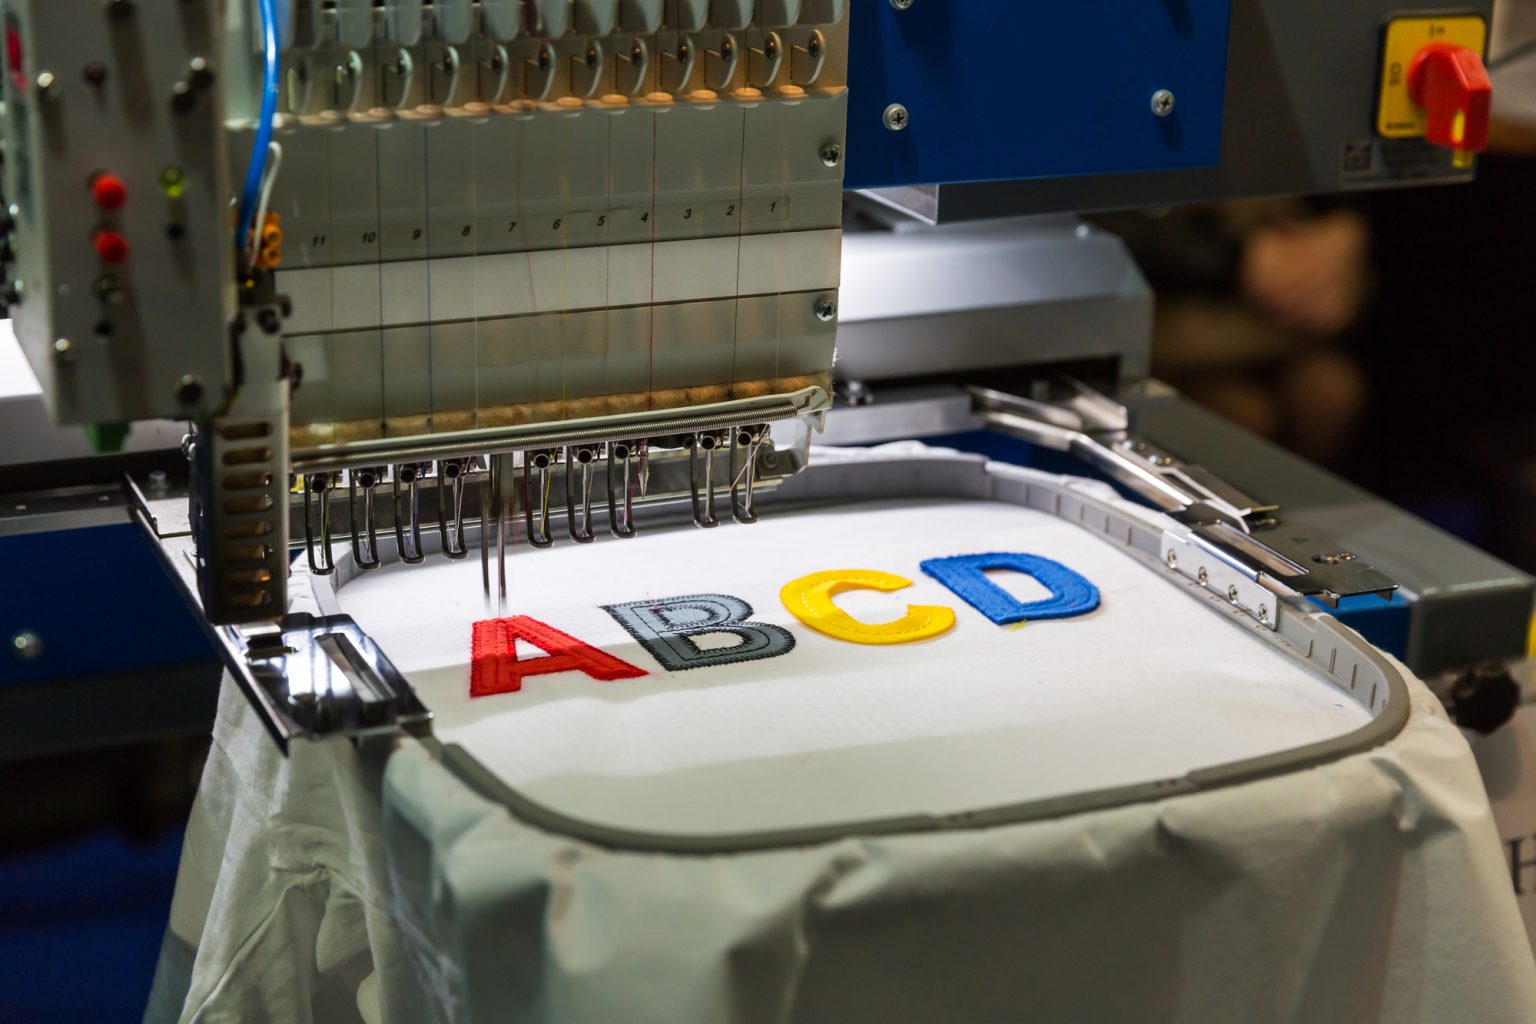
Step 3: Embroider Your Fabric
At this point, you can now place your hooped stabilizer and fabric in your embroidery machine. If properly used, you should see a clean, problem-free embroidery design.
Hooping Tips
Tip 1: Choose the Right Size
When choosing a hoop size, measure your embroidery pattern and increase its width and height by about an inch. Too large a hoop may produce unfavorable embroidery results.
Tip 2: Pin Fabric in Rectangular Hoops
Hooping for an embroidery machine sometimes resembles a rectangle instead of a circle. Increase the chance of beautiful embroidery by using T-pins around the straight edges, tightening your material, and preventing movement.
Tip 3: Use Double-Sided Tape for Stretchy or Sheer Materials
Using silky, stretchy pieces of fabric often results in a puckered or distorted design. Place double-sided tape inside your hoops to reduce movement and distortion.
Tip 4: Choose Your Preferred Embroidery Stabilizer
You can choose from three types of stabilizer materials:
- Cut Away: Stable and long-lasting, you can cut the excess backing away after embroidering.
- Tear Away: Useful for more stable materials, tear-away stabilizers allow you to rip off the embroidery backing.
- Water Soluble: Once immersed in water, this backing dissolves and leaves the embroidered design behind.
- Fusible: Similar to cut-away material’s stability, fusible stabilizer irons on and stays in the garment after embroidery.
Floating vs. Hooping Embroidery
Floating embroidery uses a piece of stabilizer as a base to attach the fabric without putting the material in the hoop. You can better control this form of embroidery with these tips:
- Basting stitches framed around your fabric’s edge keeps it from moving on the stabilizer.
- Use an adhesive spray to hold the material in place.
- Place pins or tape around the outside edges of your material.
Embroider with Your Own Designs from Affordable Digitizing
Now that you’ve mastered hooping for an embroidery machine, you need the right artwork. Contact Affordable Digitizing for professional digital embroidery files today at (239) 910-8021.