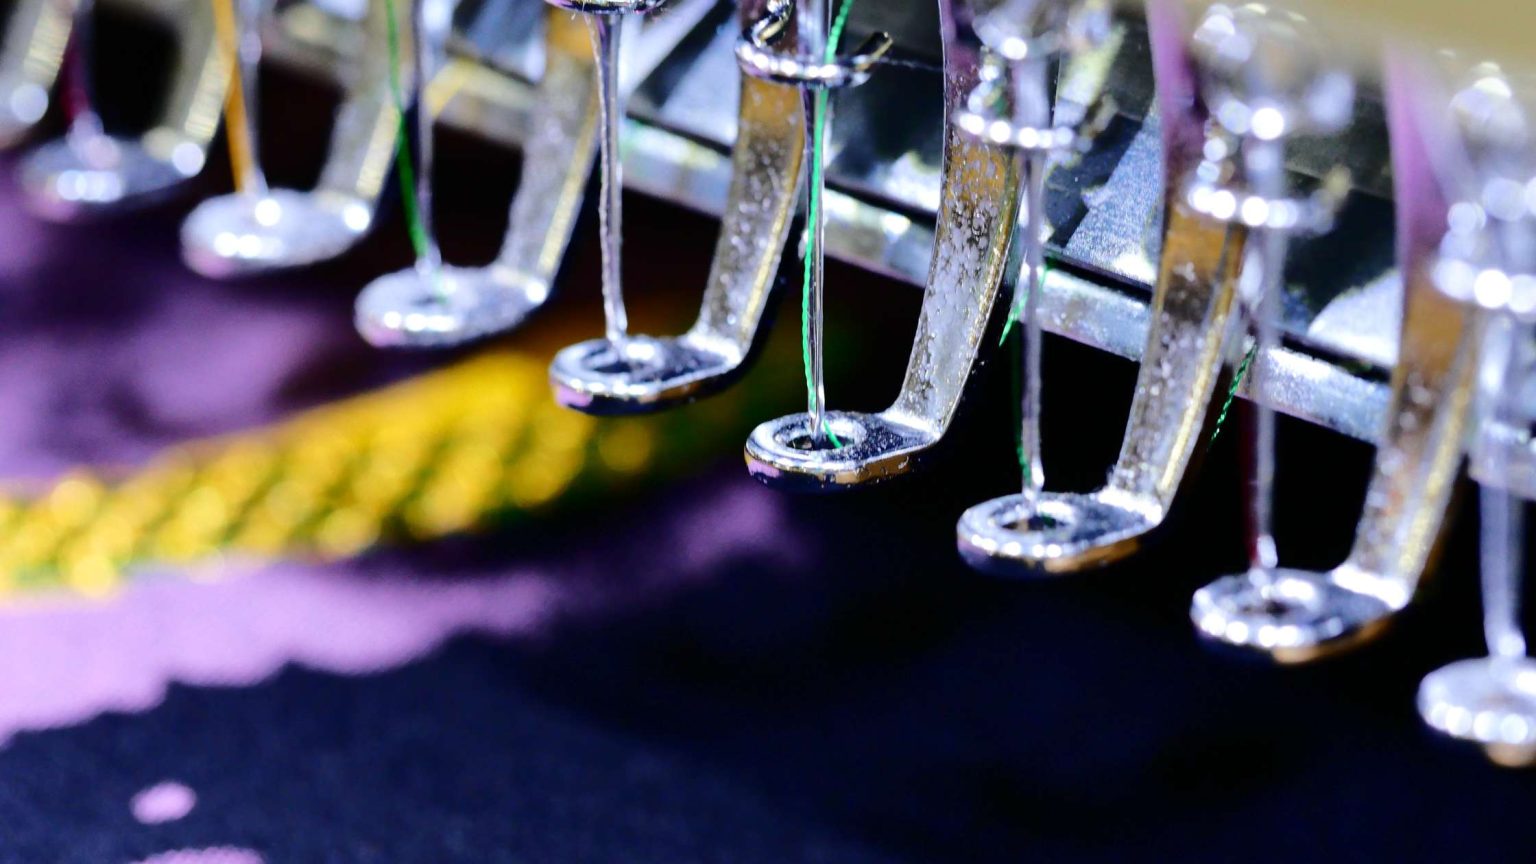
When embroidering Mylar designs, choose the right thickness for desired effect. Thicker mylar creates a bold 3D look, while thinner mylar gives a more subtle finish. Transparent mylar lets thread colors shine through. Prep your embroidery machine carefully, check threads and needle. Digitize your design using software for stitching. Hoop fabric correctly and use appropriate stabilizer. Embroider, adjusting settings as needed. Remember, successful Mylar embroidery relies on attention to detail. You’ve got the basics down, keep exploring to enhance your skills further.
Selecting the Right Mylar Material
When selecting the right mylar material for your embroidery project, consider the thickness and transparency to achieve the desired effect in your designs. The thickness of the mylar will impact the overall look of your embroidery. Thicker mylar can provide a more pronounced 3D effect, while thinner mylar will give a subtler finish.
Transparency is another crucial factor to keep in mind. Transparent mylar allows the thread colors to shine through, creating a vibrant and eye-catching design. On the other hand, opaque mylar can alter the colors and tones of your embroidery.
Preparing the Embroidery Machine
To prepare the embroidery machine, ensure that all threads are properly threaded and the needle is securely in place. Check that the bobbin is correctly inserted and that the tension is set according to the type of fabric and design you’re working with.
Make sure the hoop is clean and appropriately sized for the Mylar design you intend to embroider. It’s essential to select the appropriate hoop stabilizer based on the fabric and design complexity.
Double-check that the machine is in good working condition, with no obstructions that could interfere with the embroidery process. Test the machine on a piece of scrap fabric to ensure the stitches come out correctly before starting on your Mylar design.
Digitizing the Mylar Design
Digitize your Mylar design by selecting appropriate stitching techniques and creating a digital file ready for embroidery.
Start by choosing the stitch type that best complements the Mylar material, ensuring that it will hold securely without damaging the delicate surface. Select satin stitches for smooth outlines or fill stitches for larger areas, adjusting the density to achieve the desired effect.
Next, use digitizing software to convert your design into a digital file. Trace the artwork, assigning stitch types, colors, and densities to different elements. Pay attention to underlay stitches to provide stability and prevent distortion. Preview the design to ensure it translates well to embroidery, making any necessary adjustments.
Save the file in a compatible format for your embroidery machine. With the digital file prepared, you’re one step closer to bringing your Mylar design to life with precision and accuracy.
Hooping and Stabilizing the Fabric
Once you have digitized your Mylar design, the next step is to properly hoop and stabilize the fabric for embroidery. Hooping your fabric correctly is crucial to ensure that the design is embroidered in the right place and stays aligned throughout the process. Make sure the fabric is taut and smooth within the hoop to prevent any puckering or shifting during embroidery.
Choose the appropriate stabilizer based on your fabric type and the density of the design. Stabilizer helps support the fabric during stitching, preventing stretching or distortion. Consider using a cut-away stabilizer for more stable fabrics and tear-away for lighter ones. Place the stabilizer beneath the fabric in the hoop for added support.
Securing the hoop tightly is essential to maintain the fabric’s tension and stability during embroidery. Double-check the hoop tension before starting the machine to avoid any fabric slippage. Proper hooping and stabilizing set the foundation for a successful Mylar embroidery design.
Embroidering the Mylar Design
When embroidering a Mylar design, ensure that your machine settings are optimized for the specific requirements of the design. Select the appropriate thread color and type for the best results.
Begin by securing the fabric with the Mylar design properly hooped and stabilized. Double-check that the needle is sharp and in good condition to prevent any snags or thread breaks during the embroidery process.
Start the machine and monitor the progress closely to ensure that the Mylar design is being stitched accurately. If needed, make adjustments to the machine speed or tension to maintain the quality of the embroidery.
Once the design is complete, carefully remove the fabric from the hoop and trim any excess threads. Admire your Mylar design masterpiece and consider experimenting with different Mylar colors and designs to expand your embroidery repertoire.
Embroider Mylar Designs Like a Pro with Affordable Digitizing
Embroidering Mylar designs opens a world of creative possibilities, and Affordable Digitizing is your trusted partner in bringing these visions to life. With our expertise and dedication to quality, we ensure that your Mylar embroidery projects shine brilliantly.
Contact Affordable Digitizing today at (586) 817-9611 and let’s turn your ideas into dazzling reality.

