Embroidery has been a beloved form of art since 30,000 B.C. In all those years since, we’ve made countless beautiful things and even today, we continue to find new and interesting ways to use this skill.
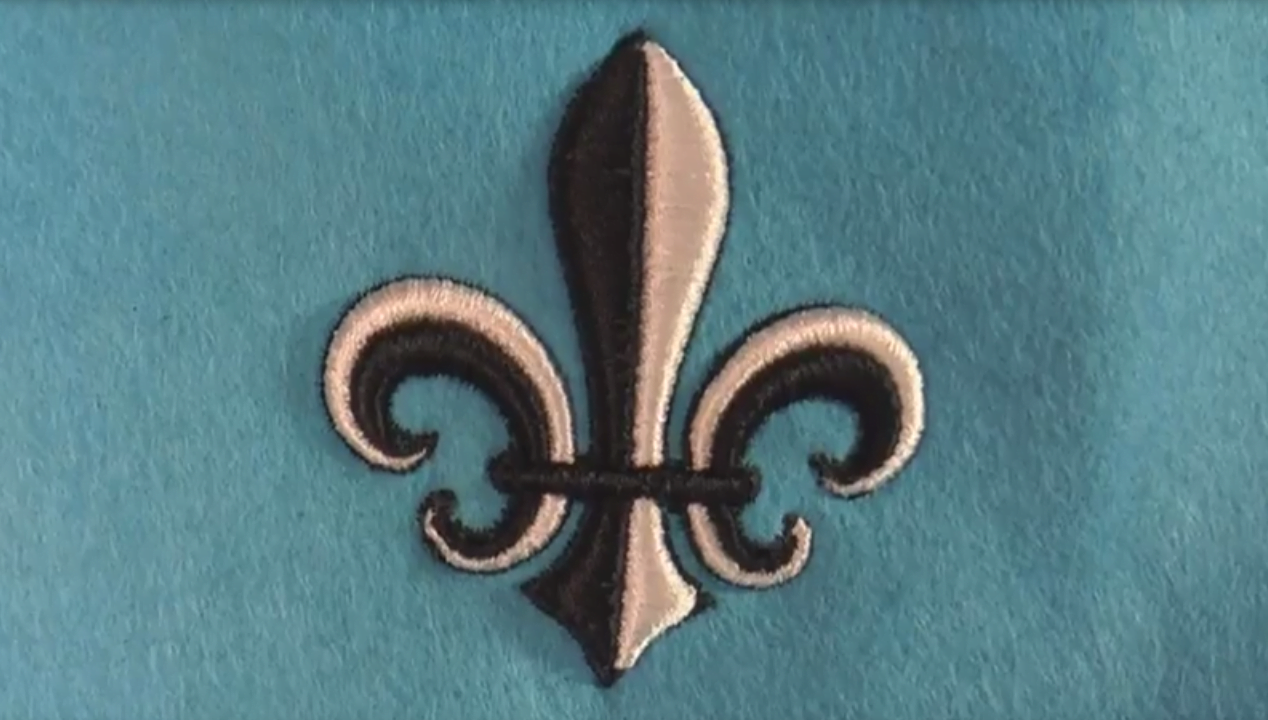
One of those new ways is 3D puff embroidery, and it’s bringing tons of pop and pizazz to all kinds of creative projects. With its cool 3D effect to give the embroidery an extra bit of depth and natural shading, it can really bring a design to life.
It’s not too difficult to add this kind of technique to your projects, either.
Check out some of the things you need to know below!
A Quick Explanation of 3D Puff Embroidery
This technique uses the addition of foam underneath the top stitch in order to raise the design and give it a realistic three-dimensional look that other approaches can’t achieve as smoothly.
This kind of embroidery works best with things that don’t need to be run through a washer machine too often. Items such as hats, caps, jackets, and other kinds of outerwear make perfect candidates.
Digitizing your design can help this process. You have to have longer stitches in order to make up the extra space that the foam takes up. Using a digitizing service, such as Affordable Digitizing, can help you figure out the best way to approach a design, making sure the end result is flawless.
[one_second][/one_second][one_second][/one_second]
For more video tutorials, CLICK HERE
A Walk-Through of 3D Puff Embroidery
- Sew the flat object first. This is often the shadow or the border of your design.
- Create a stop after the last flat stitch is complete.
- Place your piece of puff foam over the design. You might need to stick the foam in place with tape or another adhesive until the stitches hold it in place.
- Sew in a border around the entirety of your design, going through the foam as you do so, using satin stitches.
- As you finish this border, the foam will be set in place and the satin stitches will have created a natural cut in the foam.
- Remove the excess puff foam.
- You can now finish the design.
This guide is a basic step-by-step formula that should work for any kind of design. However, here are a few things to keep in mind while you’re working:
- The color of your foam should match the color of the top stitches so that the foam will blend in more seamlessly with the design.
- Satin stitching is best when it comes to this kind of embroidery. Other types of stitches might not give a good result.
- Use nippers to clean up any excess foam that didn’t tear off cleanly.
- A heat gun can help to shrink the foam into place after you are done stitching the design.
With all of these tips in mind, you’ll be able to create the kind of 3D embroidery effects that you desire. It can be a fun way to add dimension to a design while being easy to implement.
If you have any questions or want to show off your projects, feel free to contact us!